
Posted in Recipes on 13.09.2017
How to Make Bread
prep: 2 hours 30 mins / cook: 50 mins / inactive: 0 mins / total: 3 hours 20 mins / quantity: 2 loafs Print recipe?
Making bread from scratch is one of my most favourite baking things in the world. It’s an all or nothing kind of activity – you’re either pounding away at the dough or you’re letting the yeast or the oven do its magical thing while you recover from your kneading exertions.
I think it’s the frantic activity that puts a lot of people off, or the (sometimes) temperamental nature of yeast. Plus the actual time it takes with all the proving stages. But the aroma that fills the house while the bread is baking is one of THE finest smells ever to grace my nose.
So let’s talk about the ingredients and why they’re there.
Flour – STRONG flour. All wheat flour contains gluten and it’s the stretching of these gluten strands that you do during all that kneading that ‘develops’ the gluten making it become elastic, allowing the moisture to expand the dough and form air pockets that gives the bread that open texture rather than the solid texture of pastry. Strong flour has a higher gluten content than plain flour.
Salt – because flavour. That’s it. However, too much salt will kill the yeast and your bread will not rise no matter how long you leave it to prove.
Sugar – yeast kneads (sorry I HAD to, please don’t stop reading) 3 things for it to go from being just the powdery stuff in a packet (or the weird cakey stuff if you’re lucky enough to get your hands on fresh yeast!) to the thing that makes your dough into bread and not just a house brick that even the birds won’t eat – warmth, moisture and food (could be talking about Phil here too). Sugar provides the yeast with the food – it’s kind of like an alarm clock to the yeast. If the yeast relied solely on the flour for food it would have to break down the starch in the flour into sugar. Giving the yeast actual sugar makes it get up and get on with it all the more sooner.
Pretty sure I was yeast in a former life.
Liquid – usually milk or water which should be tepid. This means heated to blood temperature – while you’re heating put your finger in the liquid if it feels neither hot nor cold (in fact you can’t even tell your finger is in the liquid!) then it’s just right. Too cold and it will take even longer for your yeast to activate and start its proving thing. Too hot and you’re in danger of killing the yeast. And we’re back to inedible bricks again.
Extras – these can be anything from oats and butter to fruit, nuts, vegetables and more and are sometimes added after the dough is made and even after the first prove … like these Teacakes
Ready to go?
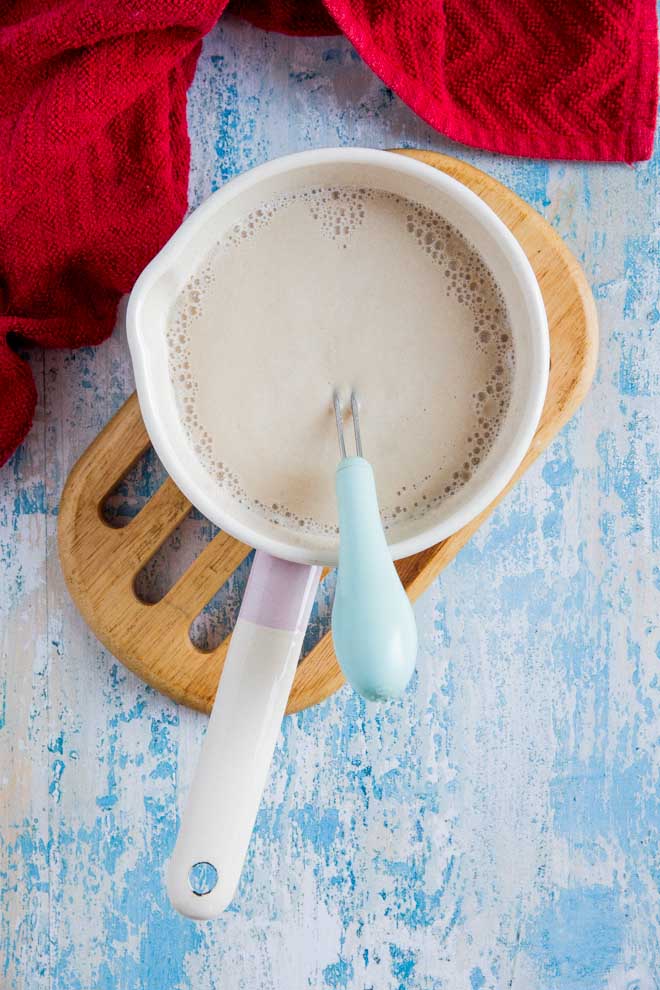
Get your yeast off and running by adding it to your tepid liquid along with whatever sweetener you’re using (here we’re using honey rather than sugar) and giving it a quick whisk. If you’re using fresh yeast simply crumble it into the liquid and rub it between your thumb and fingers till it becomes creamy and blends into the liquid. Leave it to stand for 10-15 minutes until it becomes foamy on top.
Next stir in the dry ingredients and any extras like the melted butter we’re using here, then mix together till a dough starts to form.
Next tip the whole lot onto your work surface and start kneading. You want to try and literally stretch the dough, holding one end with one hand and stretching the dough away from you with the other. You’ll need to do this with some vigour for at the very least 5 minutes but a good 10 minutes will give you an even better finished texture. And unless you’re a weights fanatic at the gym and have exceptionally well developed biceps this is quite hard work. If it’s not hard work you’re not doing it right and need to step up the pace *cracks whip* 😉
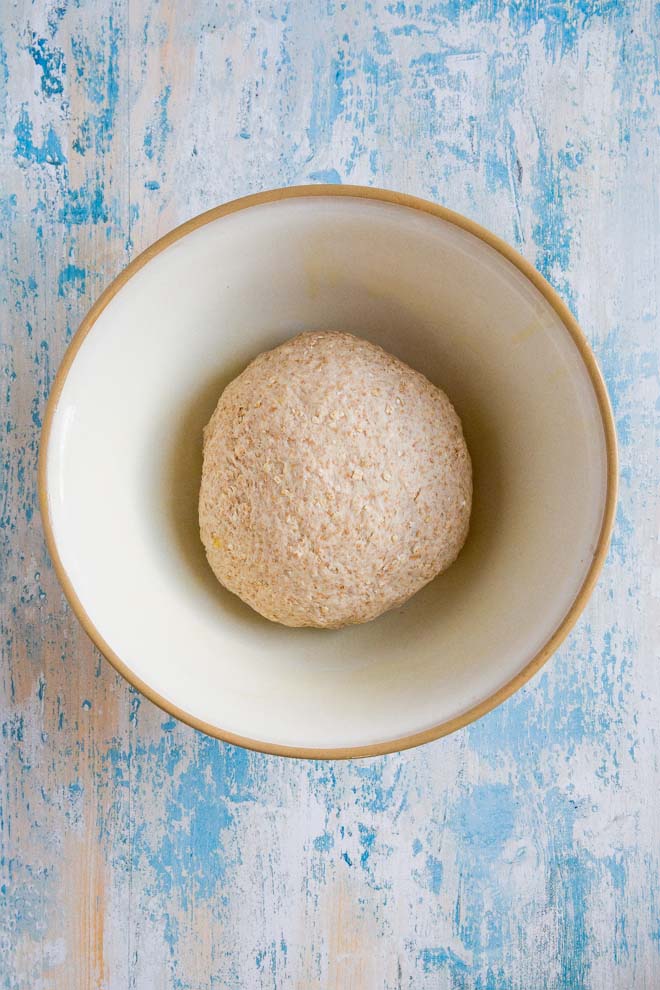
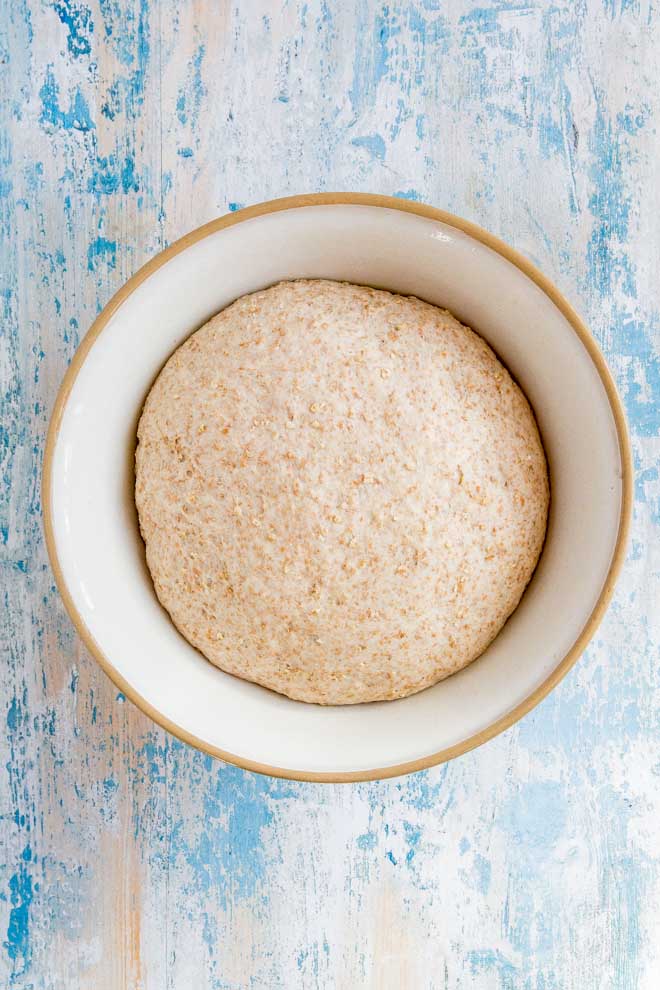
Then you put it back into your bowl (that you’ve given a light coating of olive oil to), cover with a clean cloth and leave in a warm place until the dough has roughly doubled in size. How long this will take totally depends on how warm your house is where you leave it. If you have the oven on anyway, near there is great. If you have a sunny window and enough space to fit your bowl that’s great too! Generally I find in normal ambient temperature it takes around an hour to an hour and a half. Just keep an eye on it and once it’s doubled in size you can start phase 2 of the kneading/proving process. If you forget about it and the dough overproves your bread will most likely sink upon baking .. boooo 🙁 Like I said, just keep an eye on it.
Phase 2 is where you shape your dough into whatever it’s going to be once baked – loaves, individual rolls, pizza base and so on. So, start by tipping it out of the bowl onto your work surface. Kneading and proving for a second time results in a smaller crumb and helps prevent those huge gaping air pockets in your cooked bread.
You don’t need to knead (again, sorry) quite so vigorously the second time though, just knock all the air out of your dough, shape, put on your tray/in your tin and leave to prove back under the clean t-towel again until roughly doubled in size.
Once you put the bread in the oven the yeast will get a surge of heat, giving it a final shove in proving and will then be killed (I’m starting to feel like I’m writing a horror novel here with the amount of times I’ve written killed!) So you want to make sure your 2nd prove dough is as close to the final size you want as possible before baking.
To test if your bread is cooked through simply carefully lift it up and tap the bottom – it should make a hollow sound. If you find the top is colouring too dark before your bread is baked (this is sometimes a hazard when cooking larger loaves) simply reduce the temperature and cook until the tapping becomes hollow.
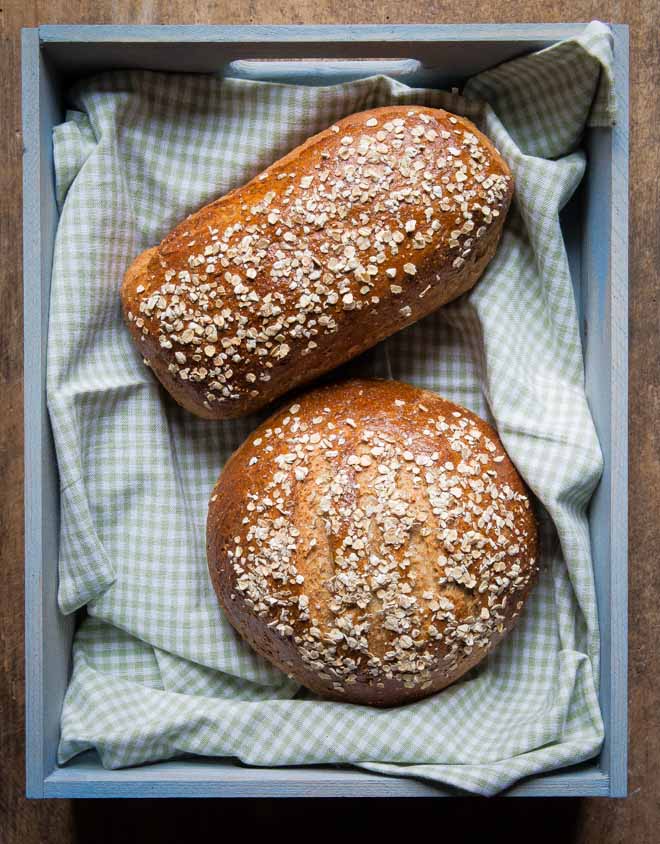
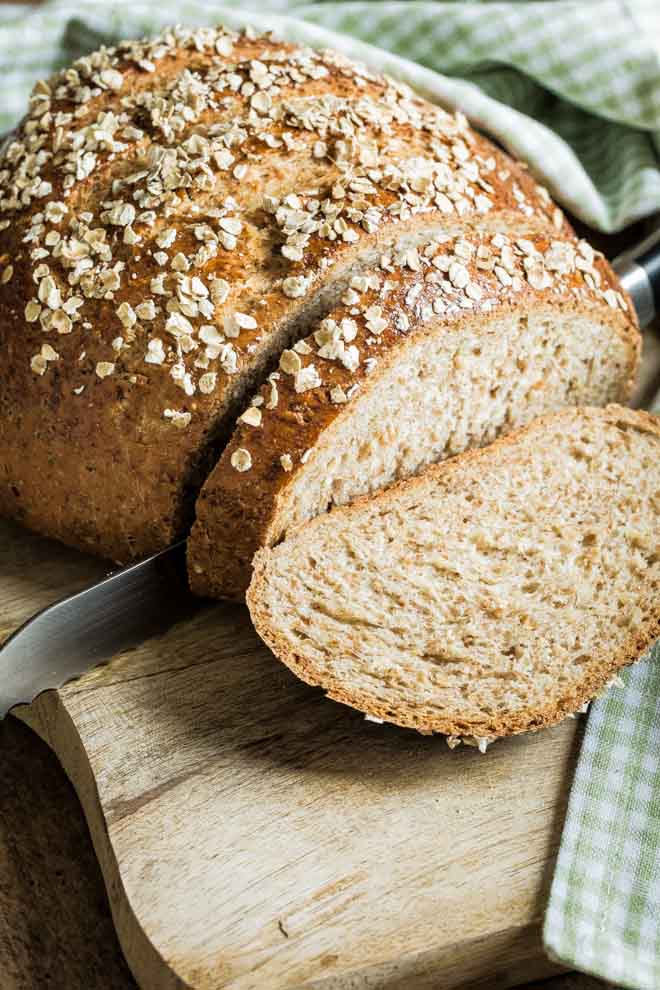
Ta da. Fresh baked bread. Nothing like it.
If you make this recipe or any of the recipes from The Cook & Him we’d LOVE to see! Just snap a picture and share it on Instagram using #thecookandhim and tagging @thecookandhim in the photo itself (as this guarantees we’ll see your picture! )
)
And don’t forget to follow us on Instagram , Facebook or Twitter for even more recipe inspiration and chat, competitions, behind the scenes and so much more!
How to Make Bread
prep: 2 hours 30 mins / cook: 50 mins / inactive: 0 mins / total: 3 hours 20 mins / quantity: 2 loafs
Ingredients
- 1 cup (250ml) water
- 1 cup (250ml) unsweetened plant milk
- 1 tblsp (10g) fast action dried yeast
- 2 tblsp sugar – it can be any type of sugar or even maple or agave syrup
- 2 1/2 cups (400g) wholemeal flour
- 2 cups (320g) strong white bread flour
- 1/4 cup (50g) vegan butter
- 1 cup (120g) rolled oats
- 1/2 tblsp (10g) salt
Optional
- a little extra plant milk for glazing + extra oats for topping
Instructions
- Warm milk, water and sugar in a saucepan until just tepid (remember, not too hot or it kills the yeast) on the stove or in a microwave, then pour into large mixing bowl.
- Whisk in the yeast and set aside for 10-15 minutes till the top of the liquid is foamy
- In the same saucepan or bowl you used to warm the milk and water, melt the butter then set that aside to cool
- Add both the flours, oats, melted butter and salt to the liquid and mix together until a dough starts to form
- Tip everything out onto your work surface and knead for a good 5-10 minutes with as much energy as you can muster till you have a soft but not sticky dough
- Put back into a clean, lightly oiled bowl, cover with a clean t-towel and leave somewhere warm till the dough has doubled in size (around 1 - 1/2 hours)
- Tip the dough back onto your work surface, knock the air out of it then divide the dough in half.
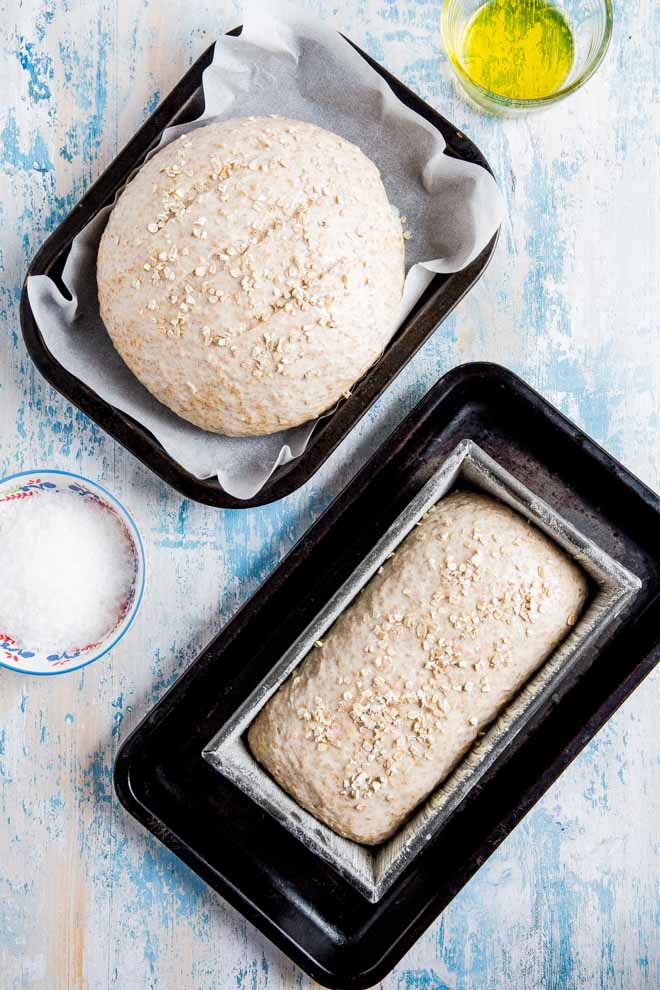
- Work one into a log shape (if you find you have a seam put that on the underside) then pop into a non-stick loaf tin (or a greased/lined one if yours is not non-stick)
- Work the other half into a ball - you can make it round or rugby ball shape - the choice is yours! Again tuck any seams to the bottom and put onto a tray lined with greaseproof or baking parchment
- Cover the tin and the tray with the clean t-towel and prove again till roughly doubled in size - around 40 minutes to 1 hour
- Before the loaves are finished proving, preheat your oven to 180 Fan / 200 C / 400 F / Gas 6
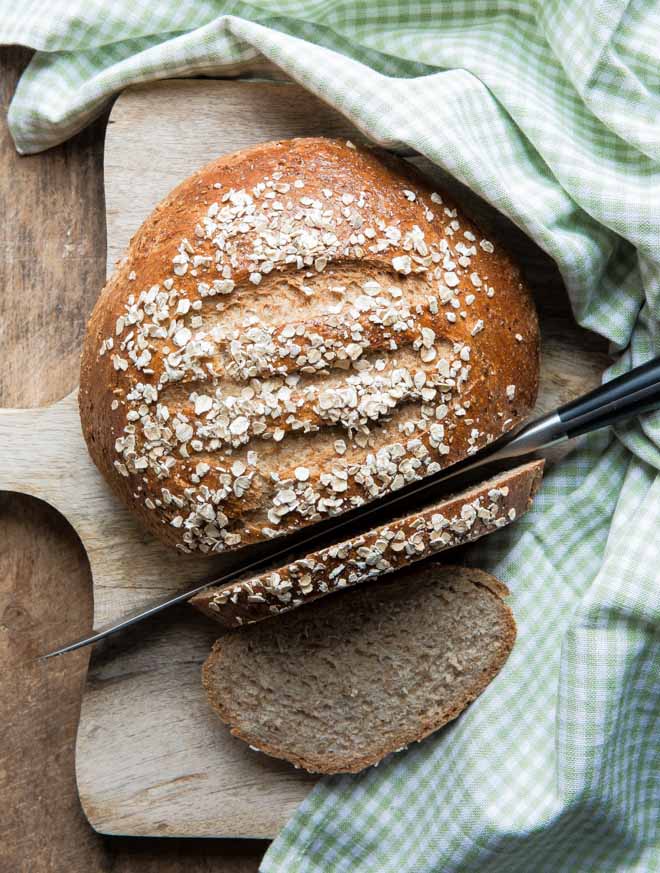
- Optional: Using a sharp knife make deep slashes in the tops of the loaves then brush with a little extra milk and sprinkle over some oats
- Bake for 40-50 minutes - test if they're cooked through by tapping the bottom of the loaf - if it's cooked it should make a hollow sound
- Cool completely before storing in an airtight container. This is perfect as a fresh loaf eaten the same day but also makes great toast and can be frozen too!
Notes
- This bread is just amazing when fresh and just as amazing a couple of days later toasted
- Freeze one of the loaves in slices if don't plan on eating it within a couple of days
Hello there! I’m Sam, former Michelin star pastry chef and now your go-to vegan foodie on a mission to make plant-based eating a deliciously easy adventure! From cozy comfort foods to vibrant salads and decadent desserts, there’s something for everyone in my kitchen.
Whether you’re cooking for one or for a houseful I believe food doesn’t have to be complicated to be full of FLAVOUR and I want to show you how. I’ve been a rigorous meal planner for over a decade whilst embracing seasonal ingredients (because that’s where the real flavour is!)
I’m also a dedicated dog mum to Nooch and Baxter and enjoy cooking them homemade treats (many of which are posted here) when I’m not screaming at the tennis or devouring fantasy fiction.
Latest recipes
BRAND NEW RECIPE BOOK
All things autumn - warming soups, savoury bakes and delicious sweet treats!
BRAND NEW RECIPE BOOK
Subscribe to my newsletter and as a bonus receive my free recipe book with 100 pages of full colour recipes! Including 30 of my favourites and 10 brand new and exclusives that wont be available anywhere else!
Configure your search
and I would like to see...
Or search for a recipe or post by keyword